There is a bit of common belief that processing can change everything. And there is some truth to it, if you think about composites and actually creating photos in Photoshop, as oppose to show what the camera seen, filtered by your own vision.
When you take a photo, even if you do not want to slice it, replace sky, add planes and birds, etc. processing is still mandatory (I intentionally not calling it post-processing). There is no workaround it. It doesn’t matter if the camera does the processing, if you do the processing in the camera or later in Lightroom and Photoshop. There is no way you will have a photo if you do not process the file that camera generates (which, for haven’s sake, is NOT a .jpg, at its origin).
When it comes to processing, even if you are a master, bad light and bad composition cannot really be fixed to generate a masterpiece. Bud yeah, ok, let’s say “bad composition” is a relative term and maybe you can work around it sometimes, but light… Light is the most important thing in a photo. Its quality, direction, intensity are absolutely essential. You can fix some aspects of it by “painting light” in the photo in post-processing, but a bad lit photo will remain a mediocre image.
I specifically posted some photos bellow to illustrate the above point. Some have very little “apparent” processing because the quality of light was great. Some are more recovered and more processed. Ultimately, I leave to your judgement the overall quality of the photos. I assume that an advanced photographer or artist will discover many faults and that is because I still have a lot to learn. As far as I am concerned though, I am quite content with the results, for now.
The photos are taken with 2 models of cameras which explains the slightly lower resolution of some of them.
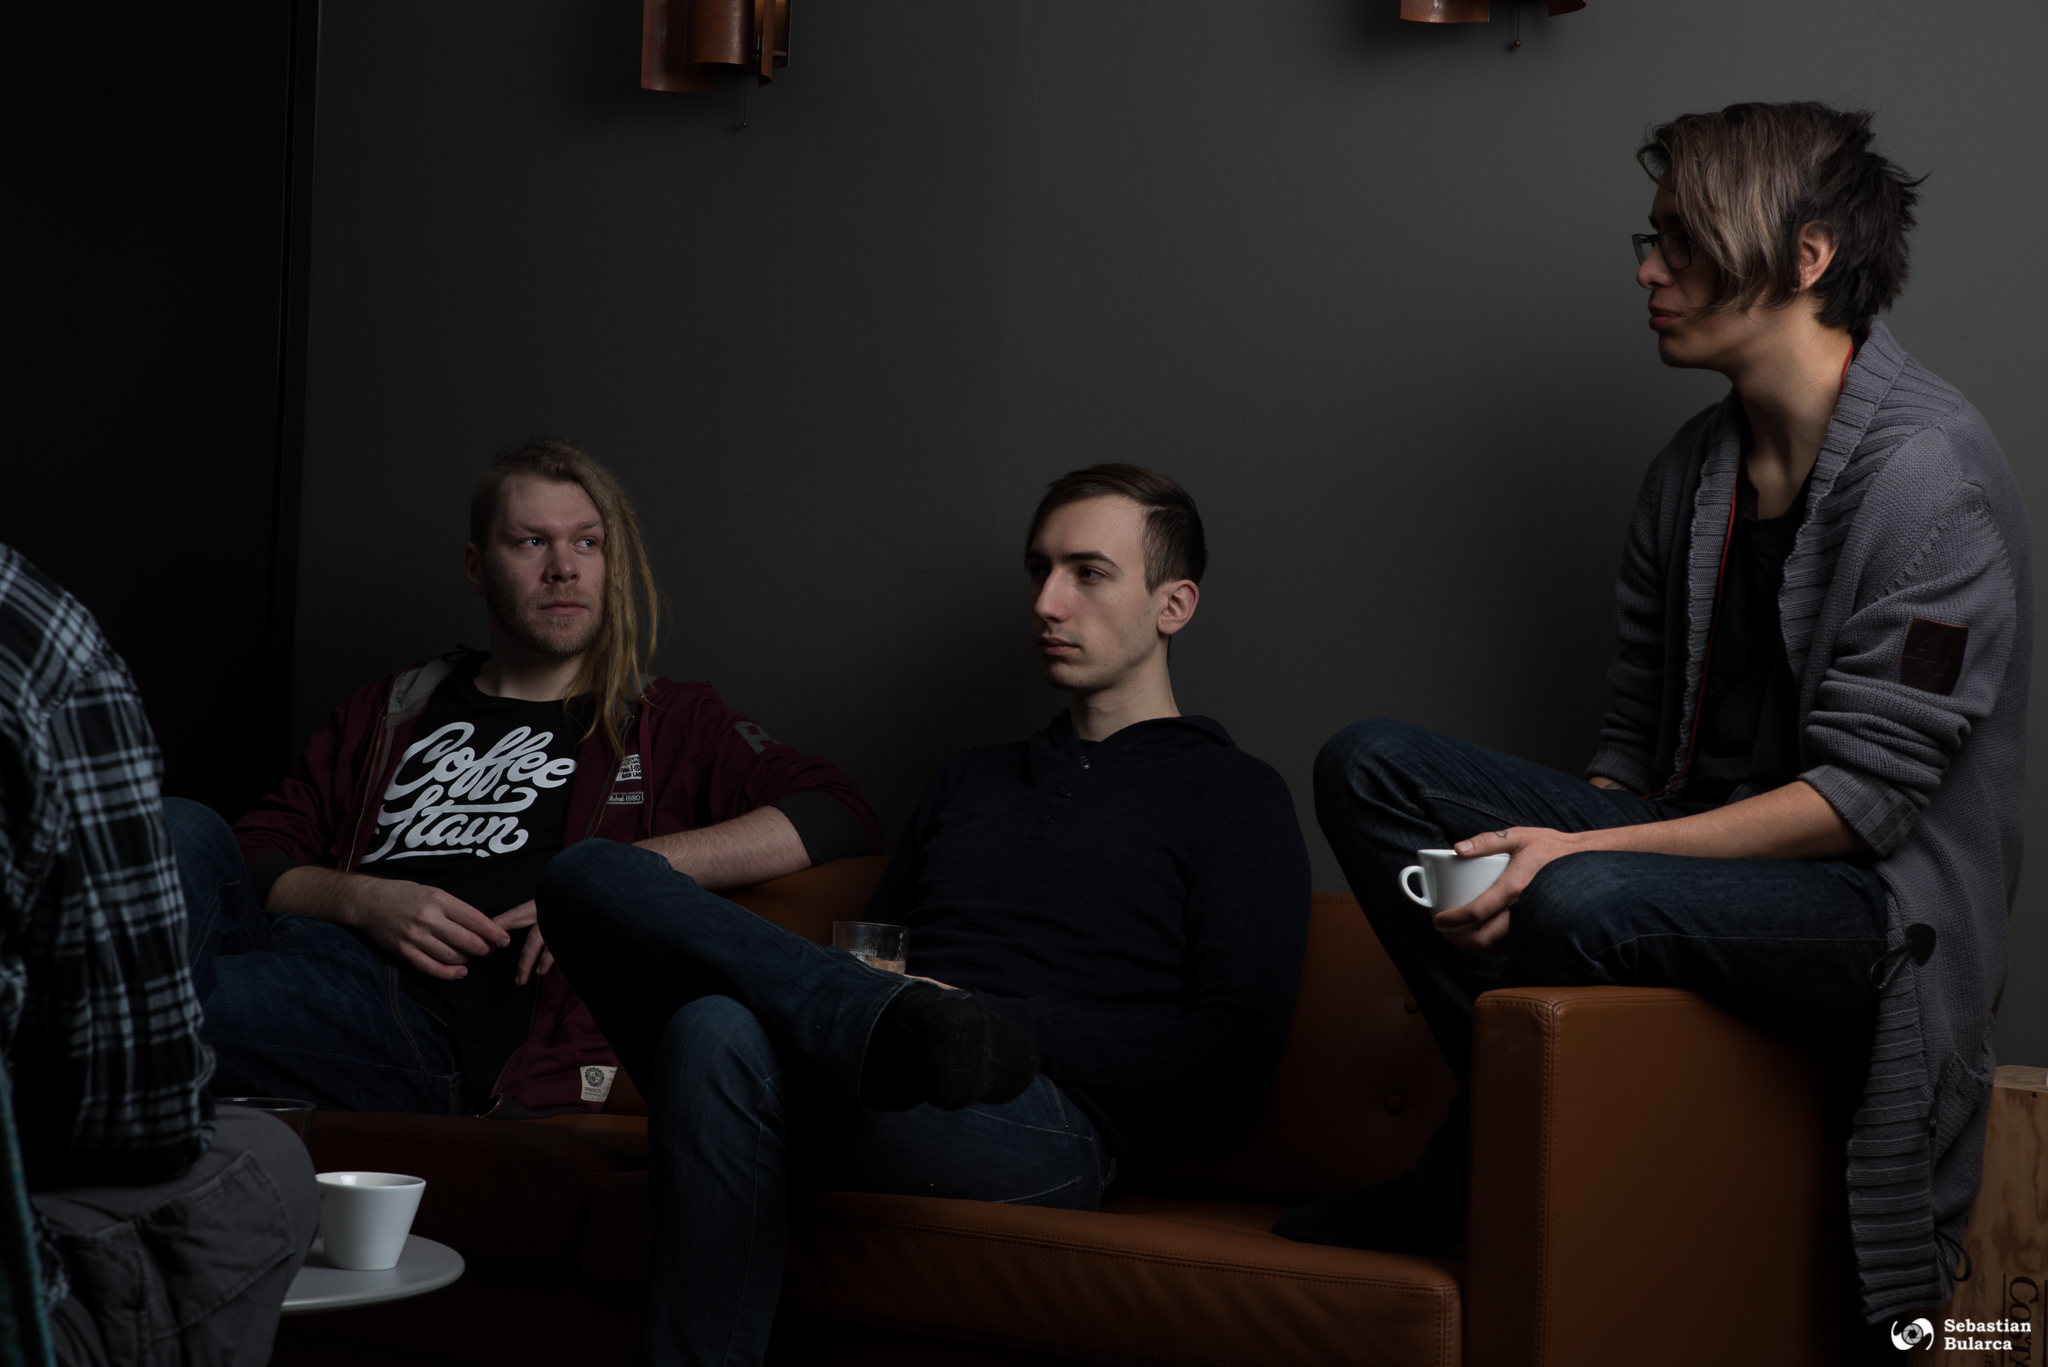
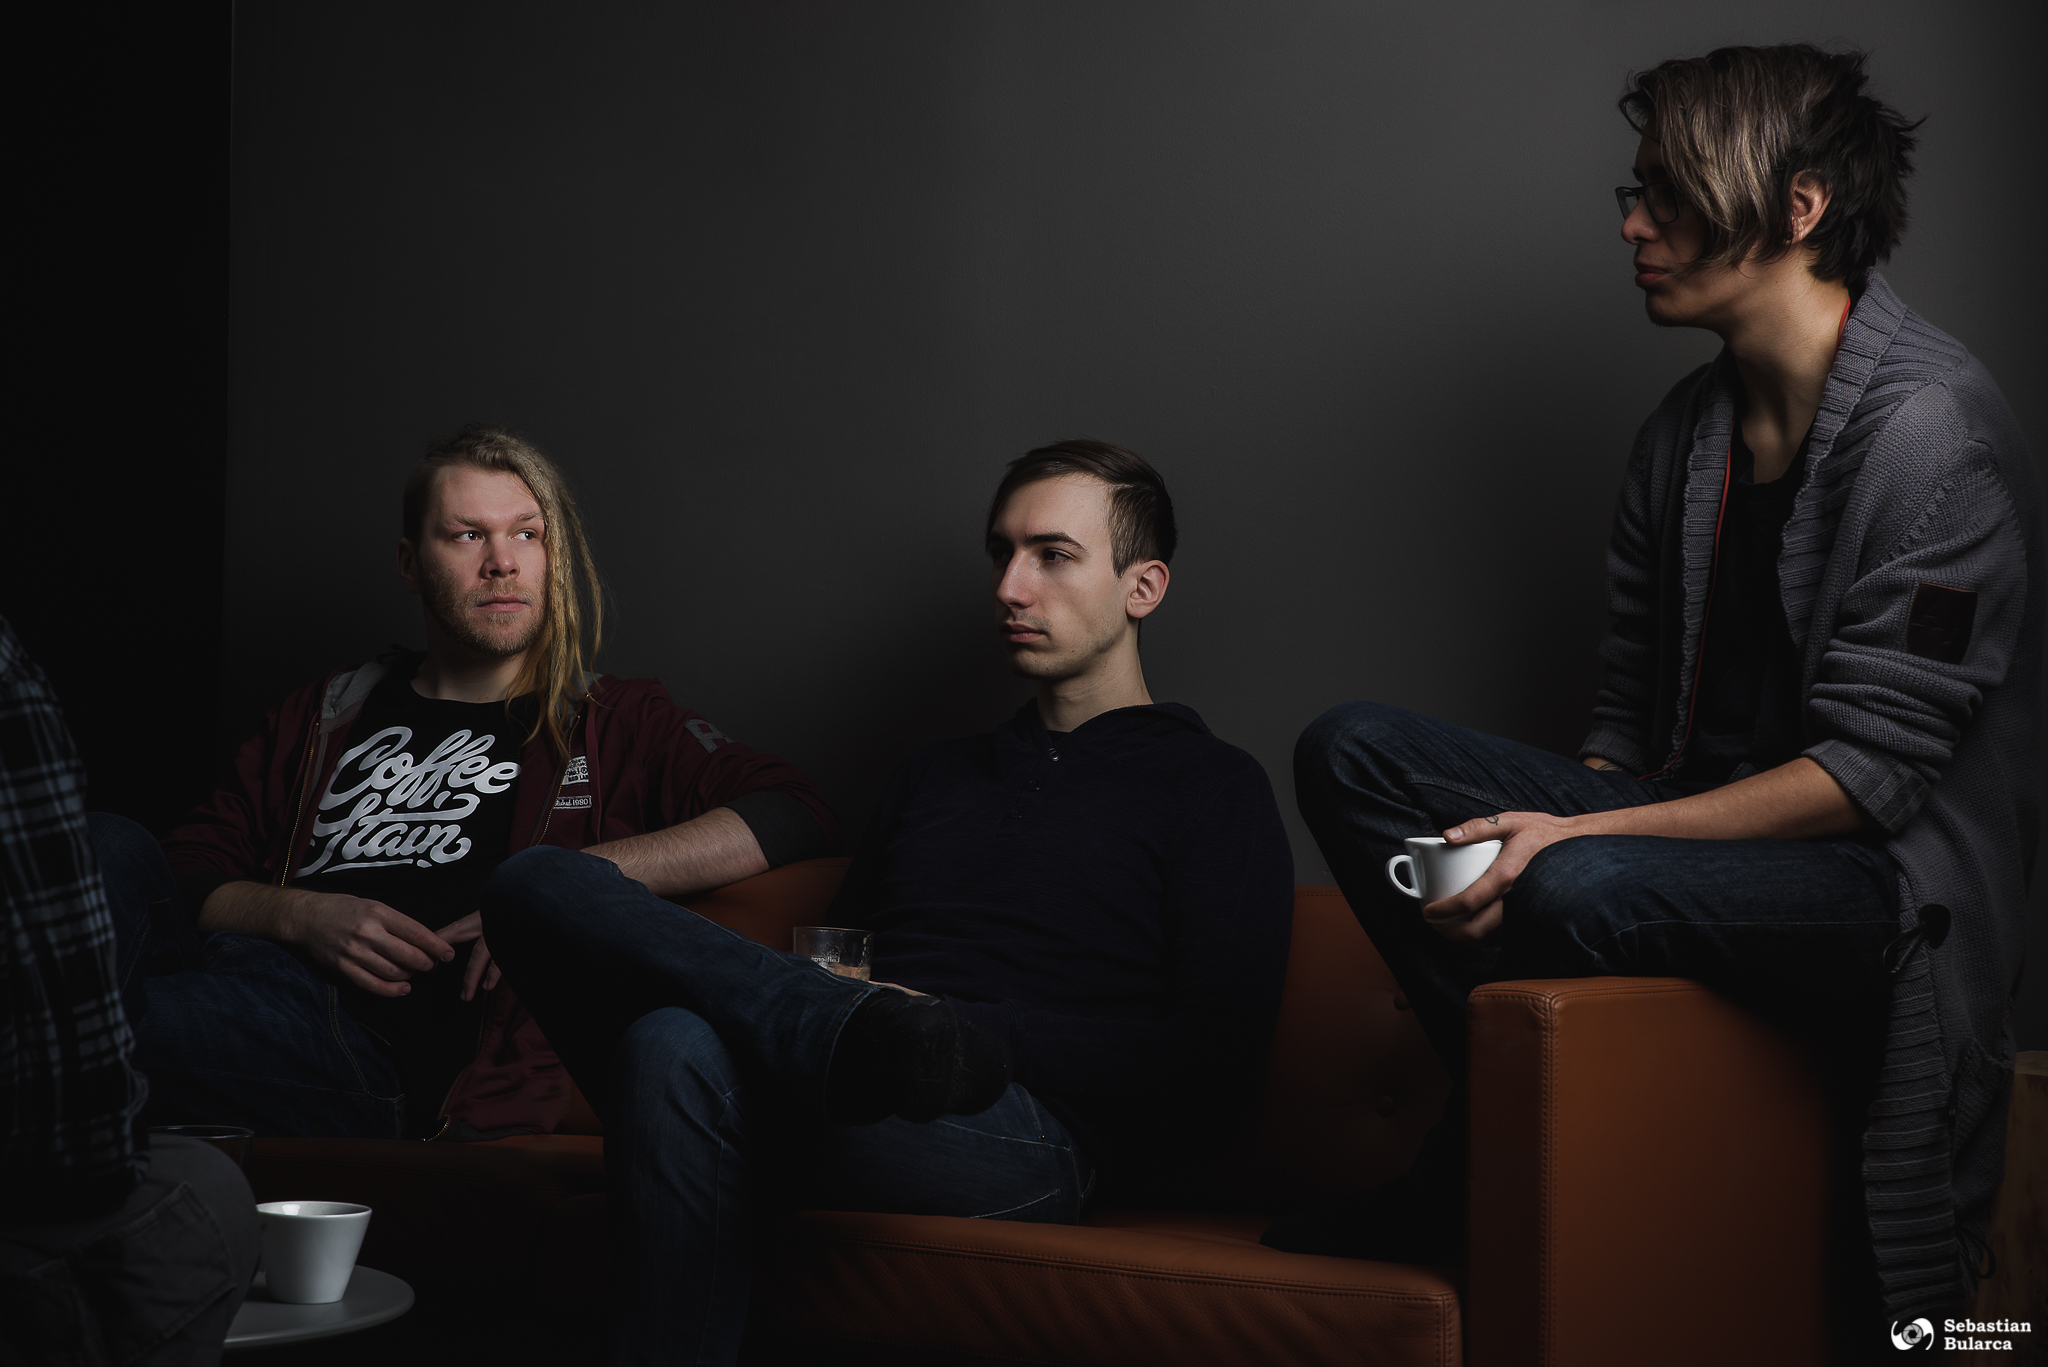
This photo was illuminated with 1.5m grided octabox which explains the very specific soft quality of light. Camera used was Nikon D810.
[twentytwenty]
[/twentytwenty]
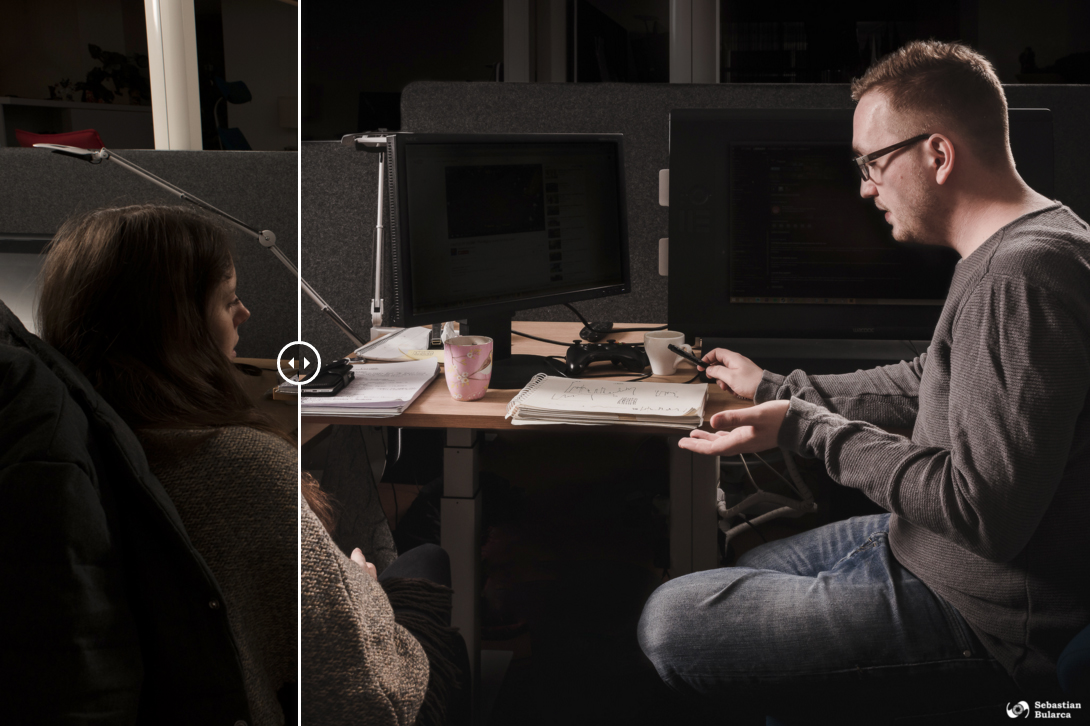
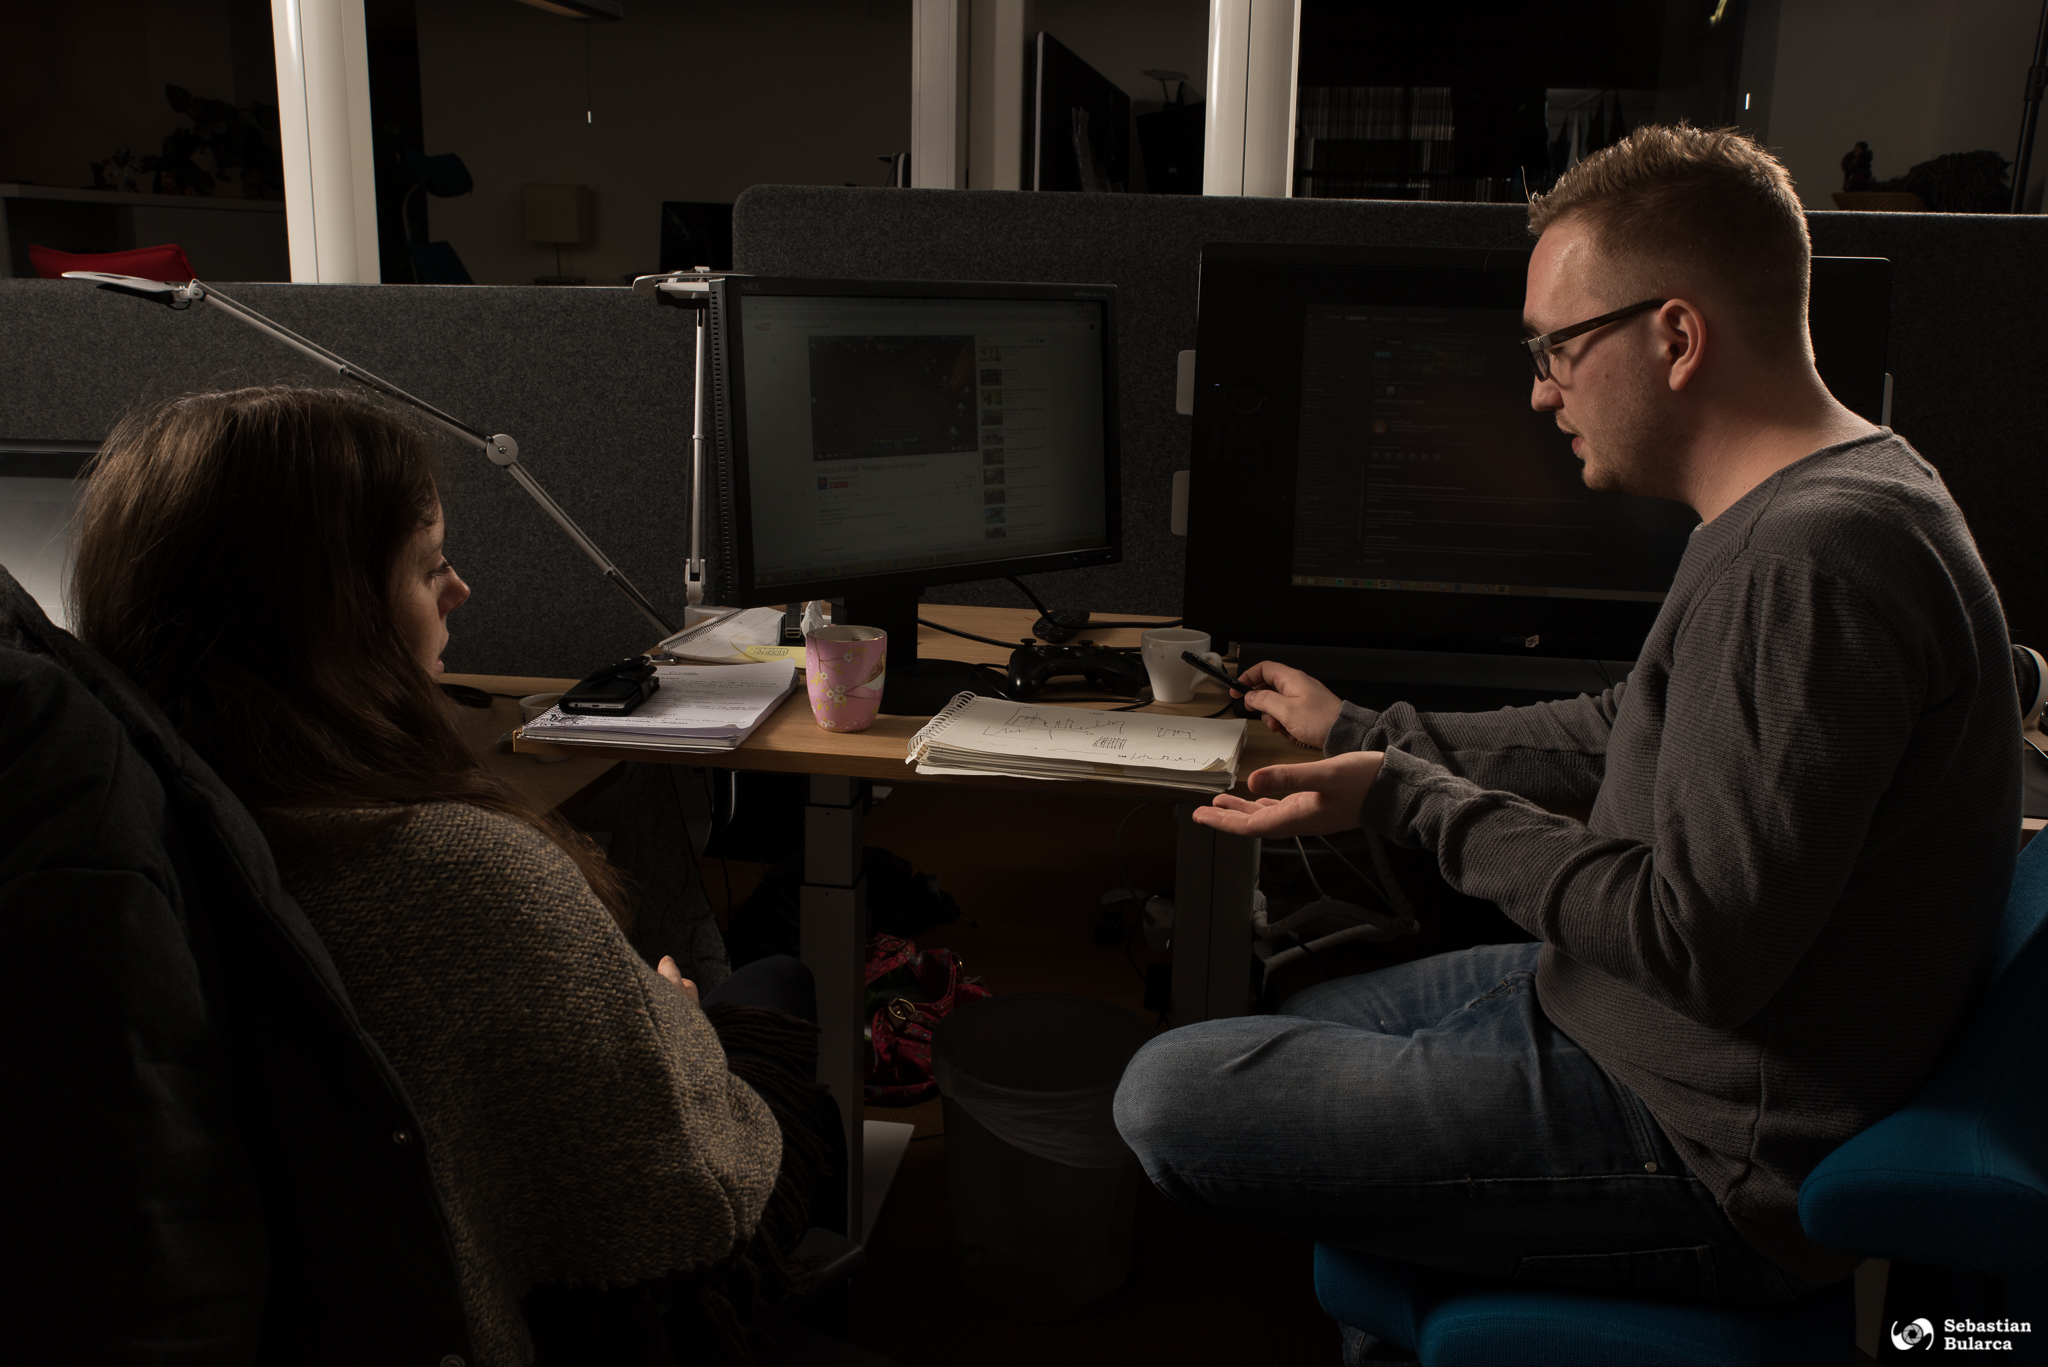
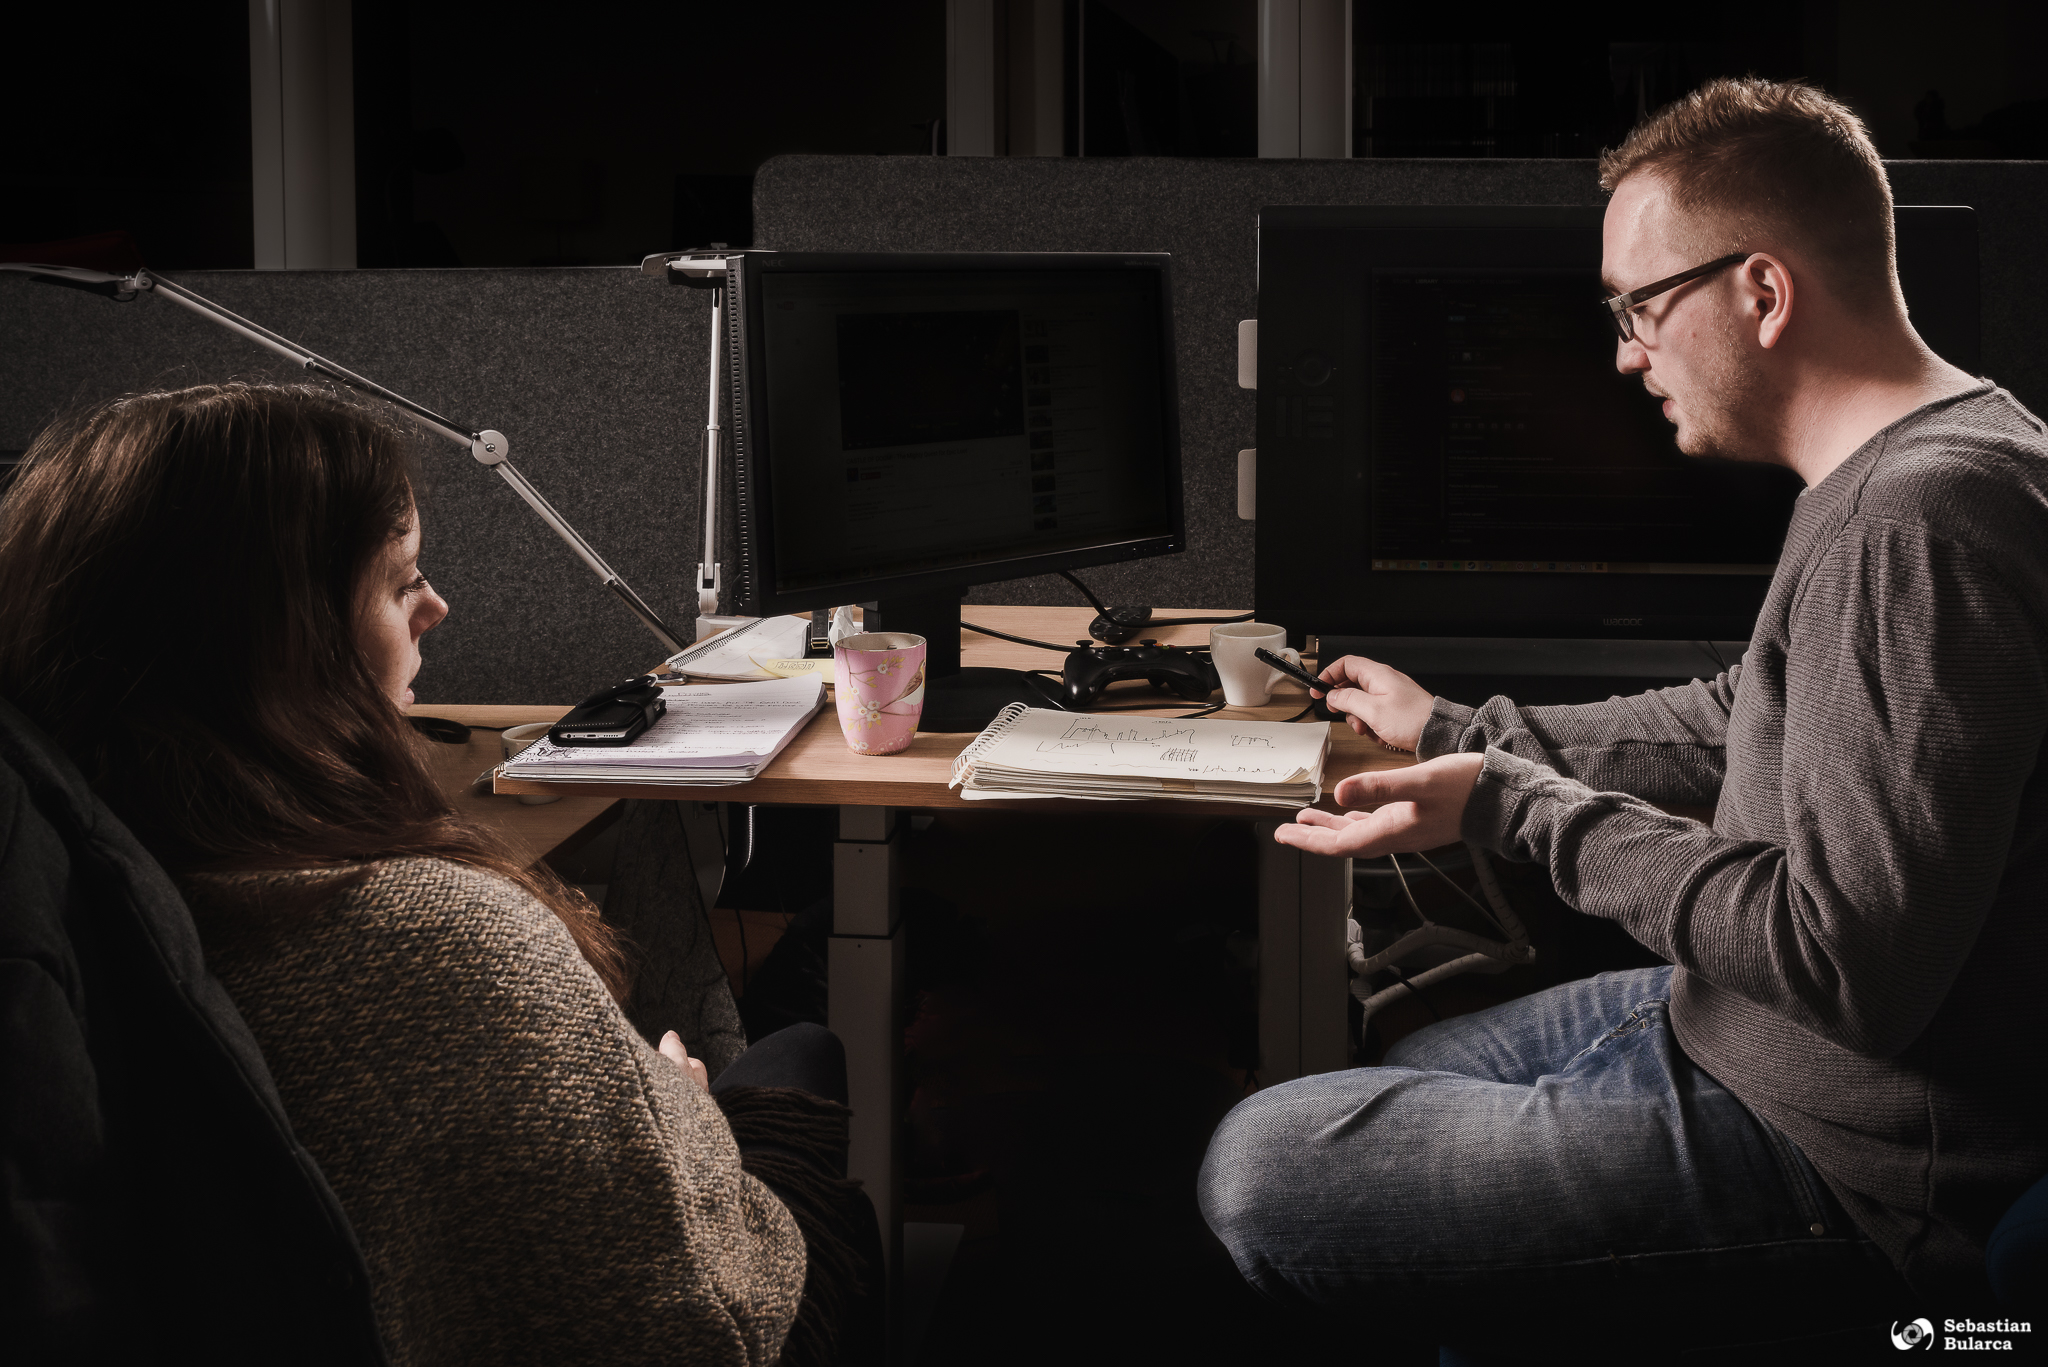
This photo was shot with two square softboxes which I fit on the two sides of the desk. The light is harsher but still soft enough. Camera used was Nikon D810.
[twentytwenty]
[/twentytwenty]
Illuminating this portrait was a bit more complicated since I had to use a main harsh light which was suppose to create the shadow on the background, but also use a fill light, with a warm gel to add a bit of colour on the skin and reduce the negative effects of the harsh reflector. This particular photo took me 45 minutes to process. Camera used was Nikon D810 with Nikon 85mm f/1.8 as lenses.
Note to self – use paper background instead of non-ironed cloth in the background…
[twentytwenty]
[/twentytwenty]
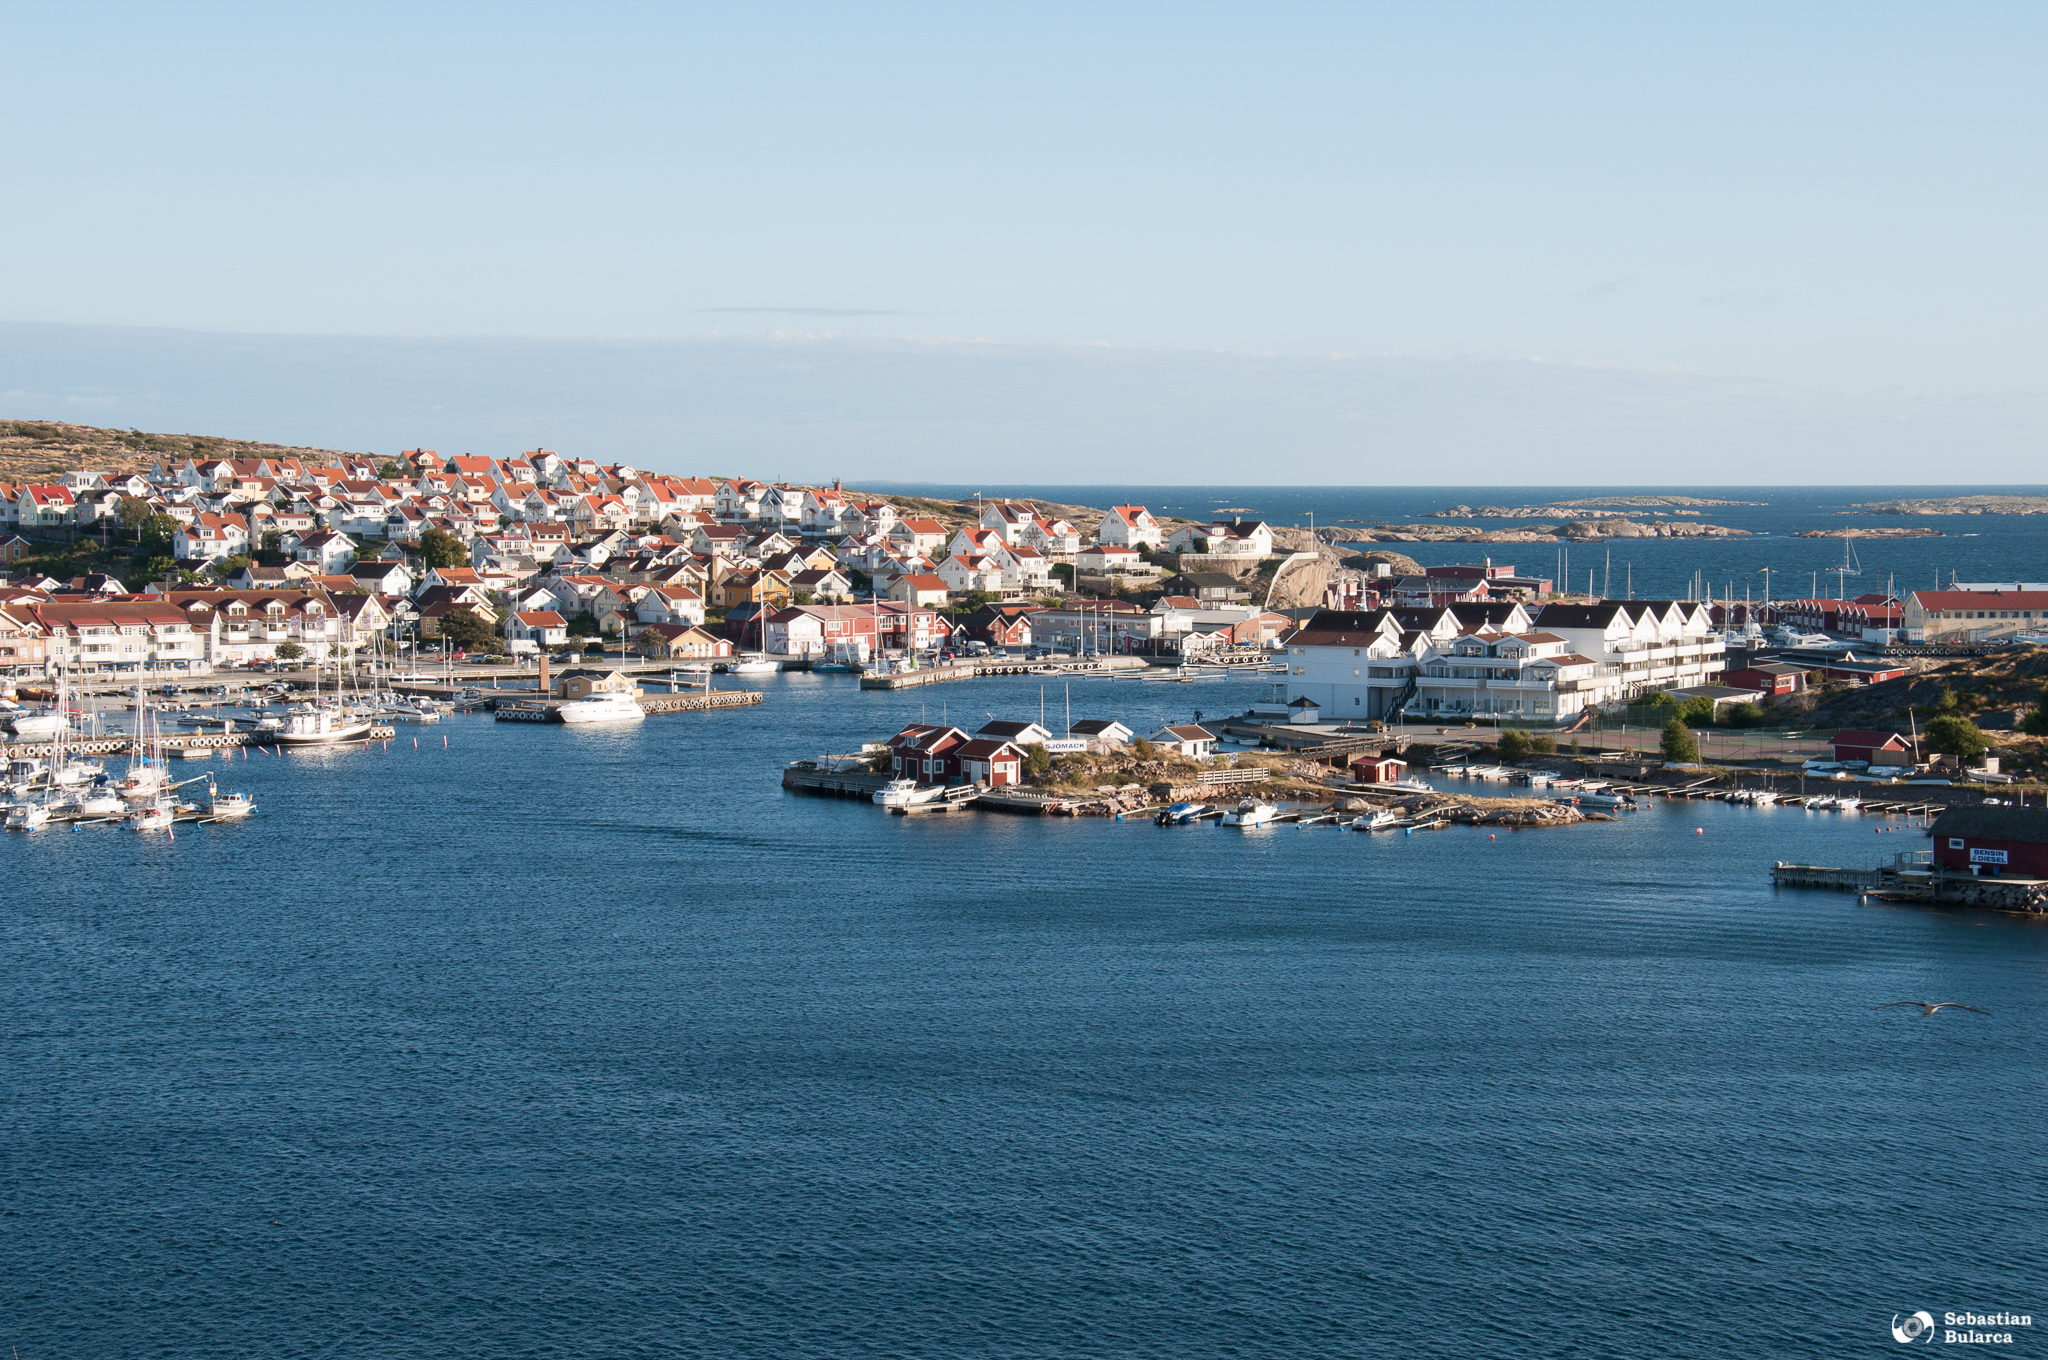
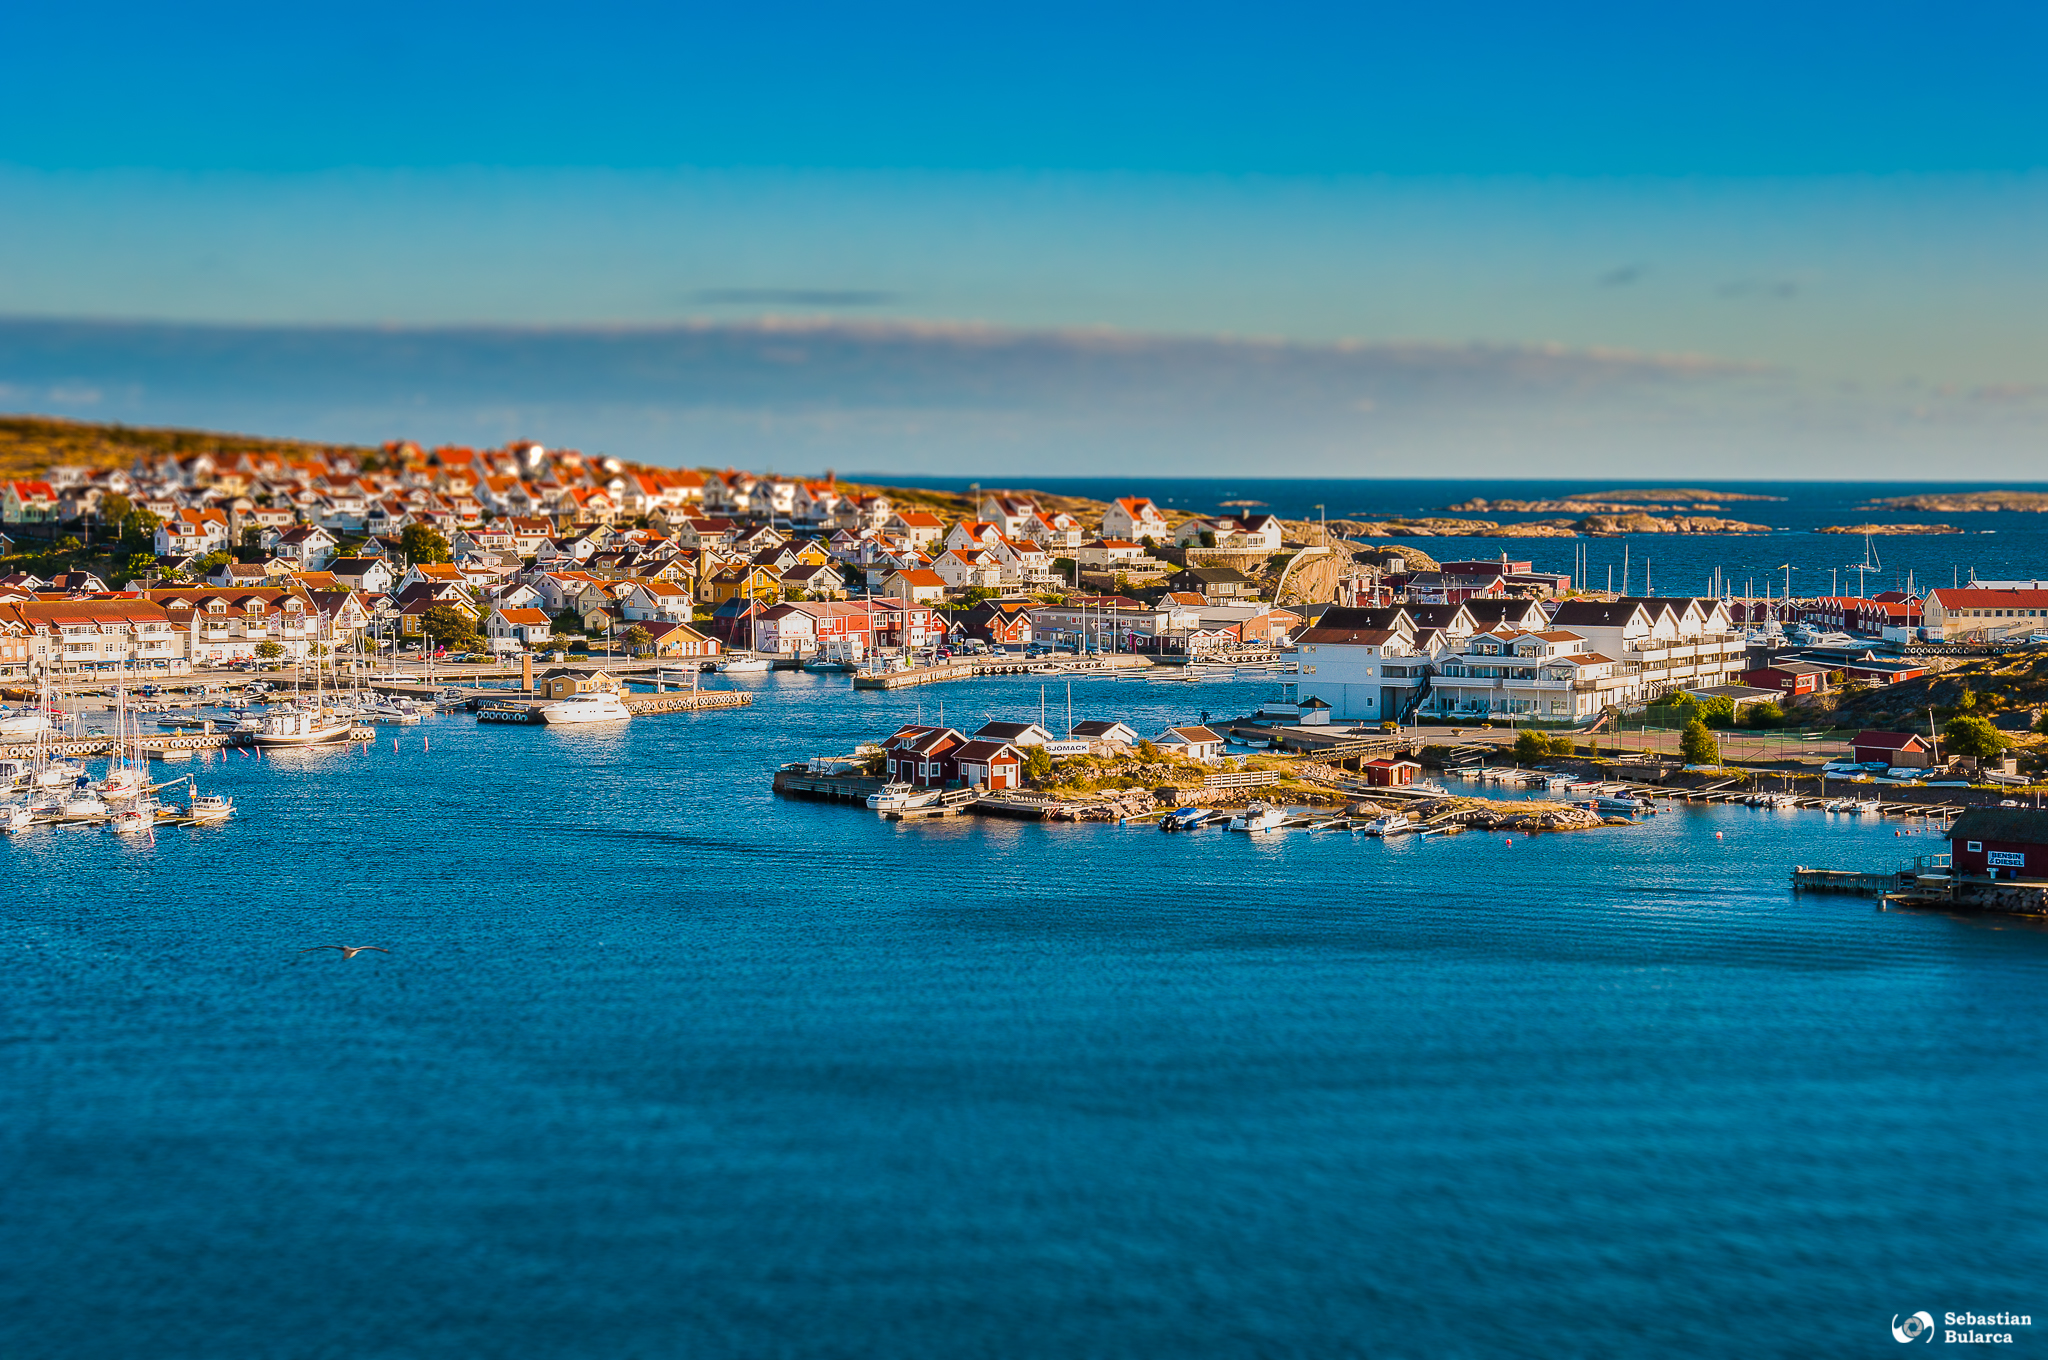
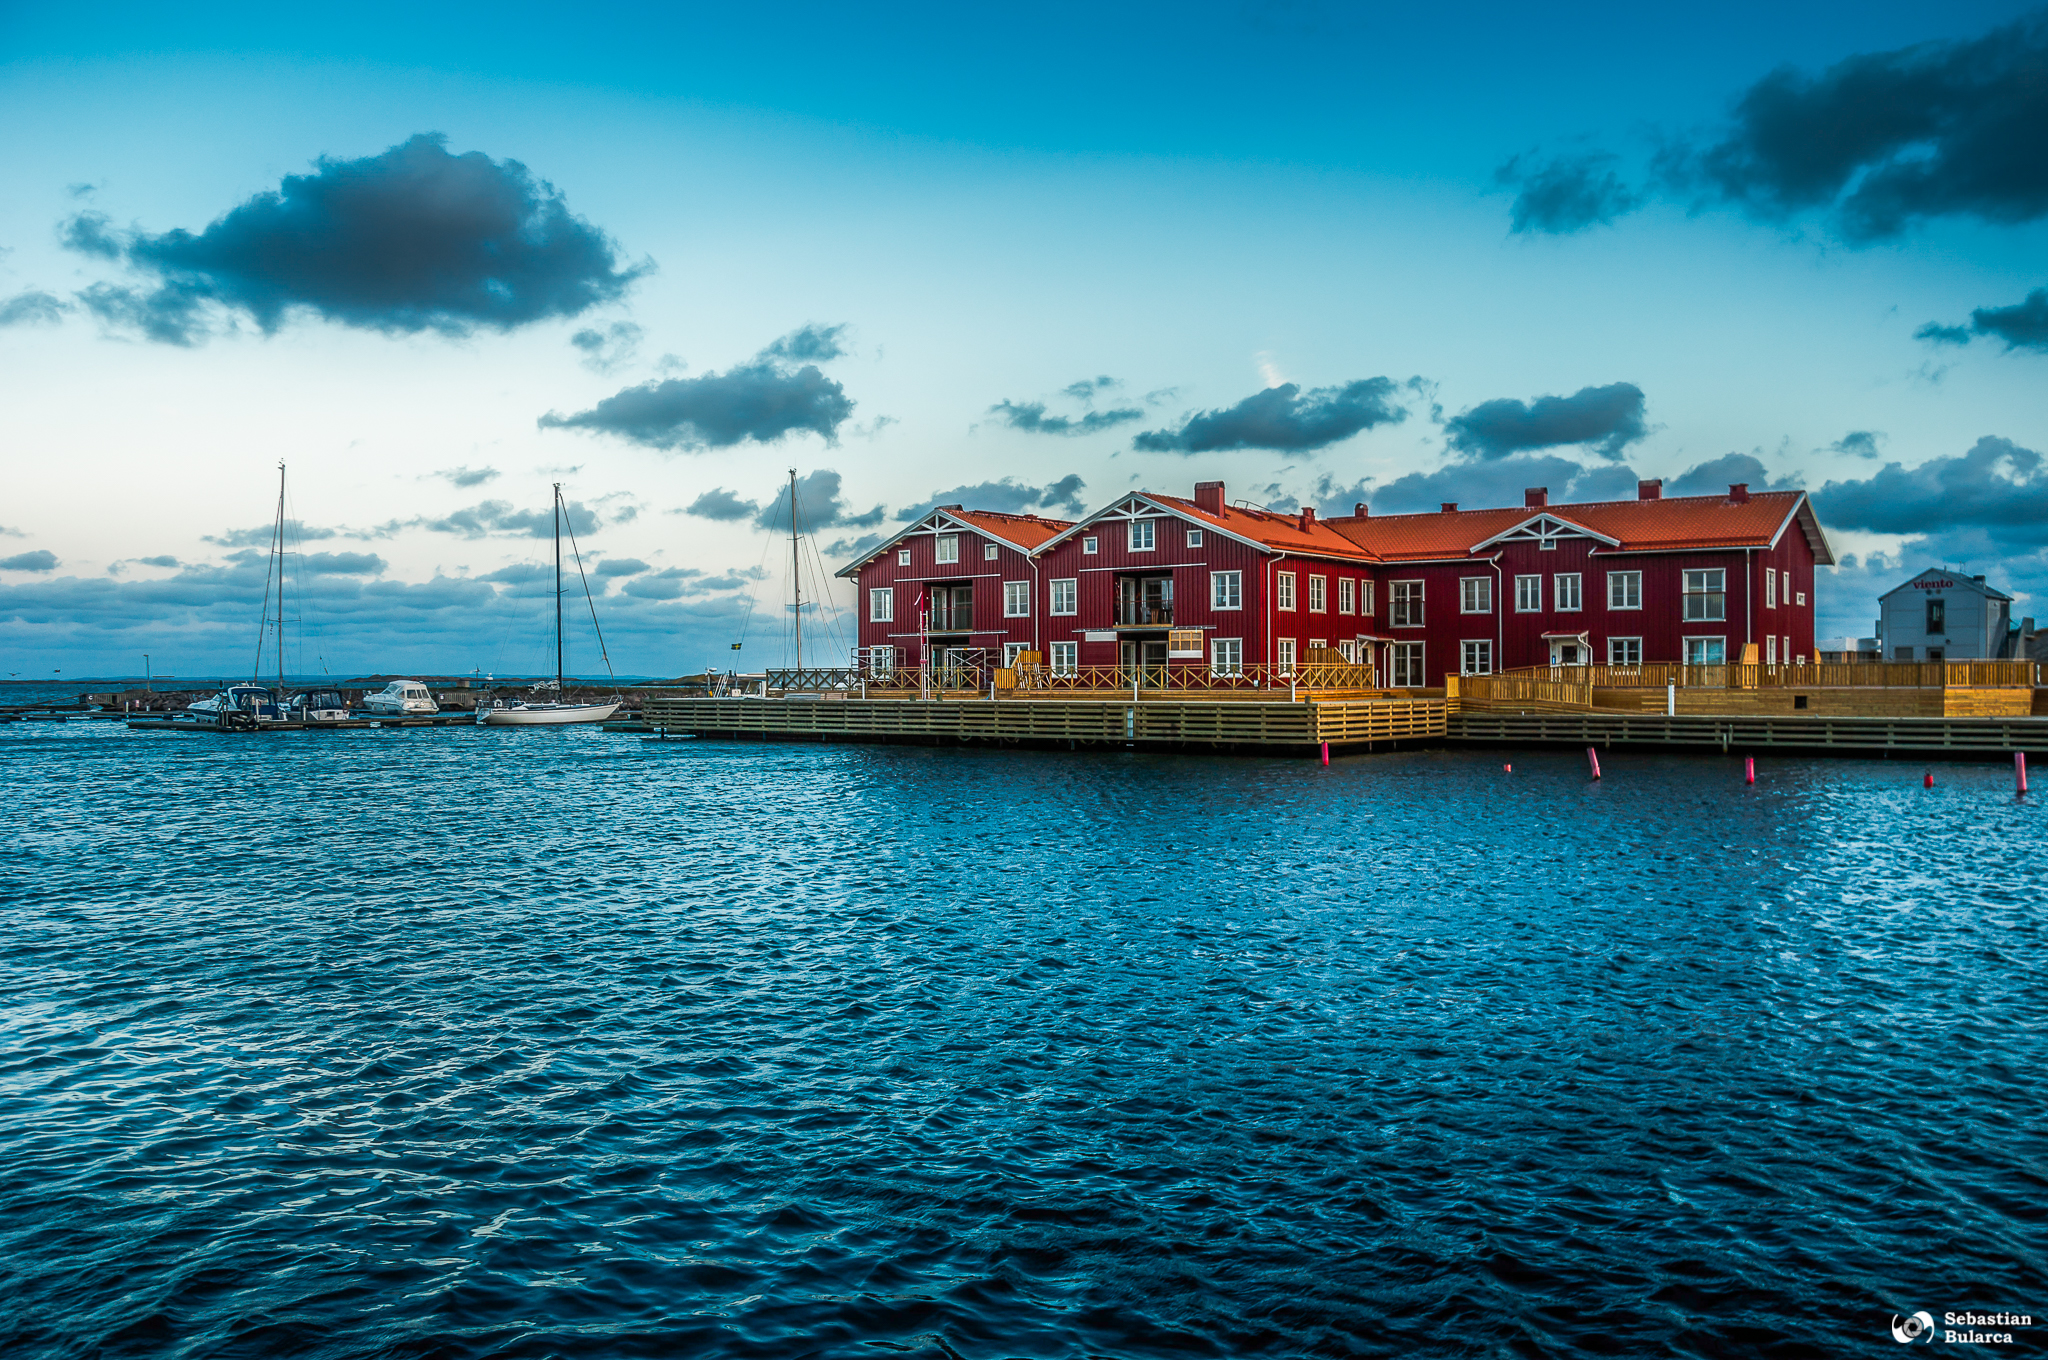
A town on the west cost of Sweden. This is very simple processing, Lightroom mostly. I have added the tilt-shift effect in Photoshop and also moved a bird a bit. Camera used was Nikon D90.
[twentytwenty]
[/twentytwenty]
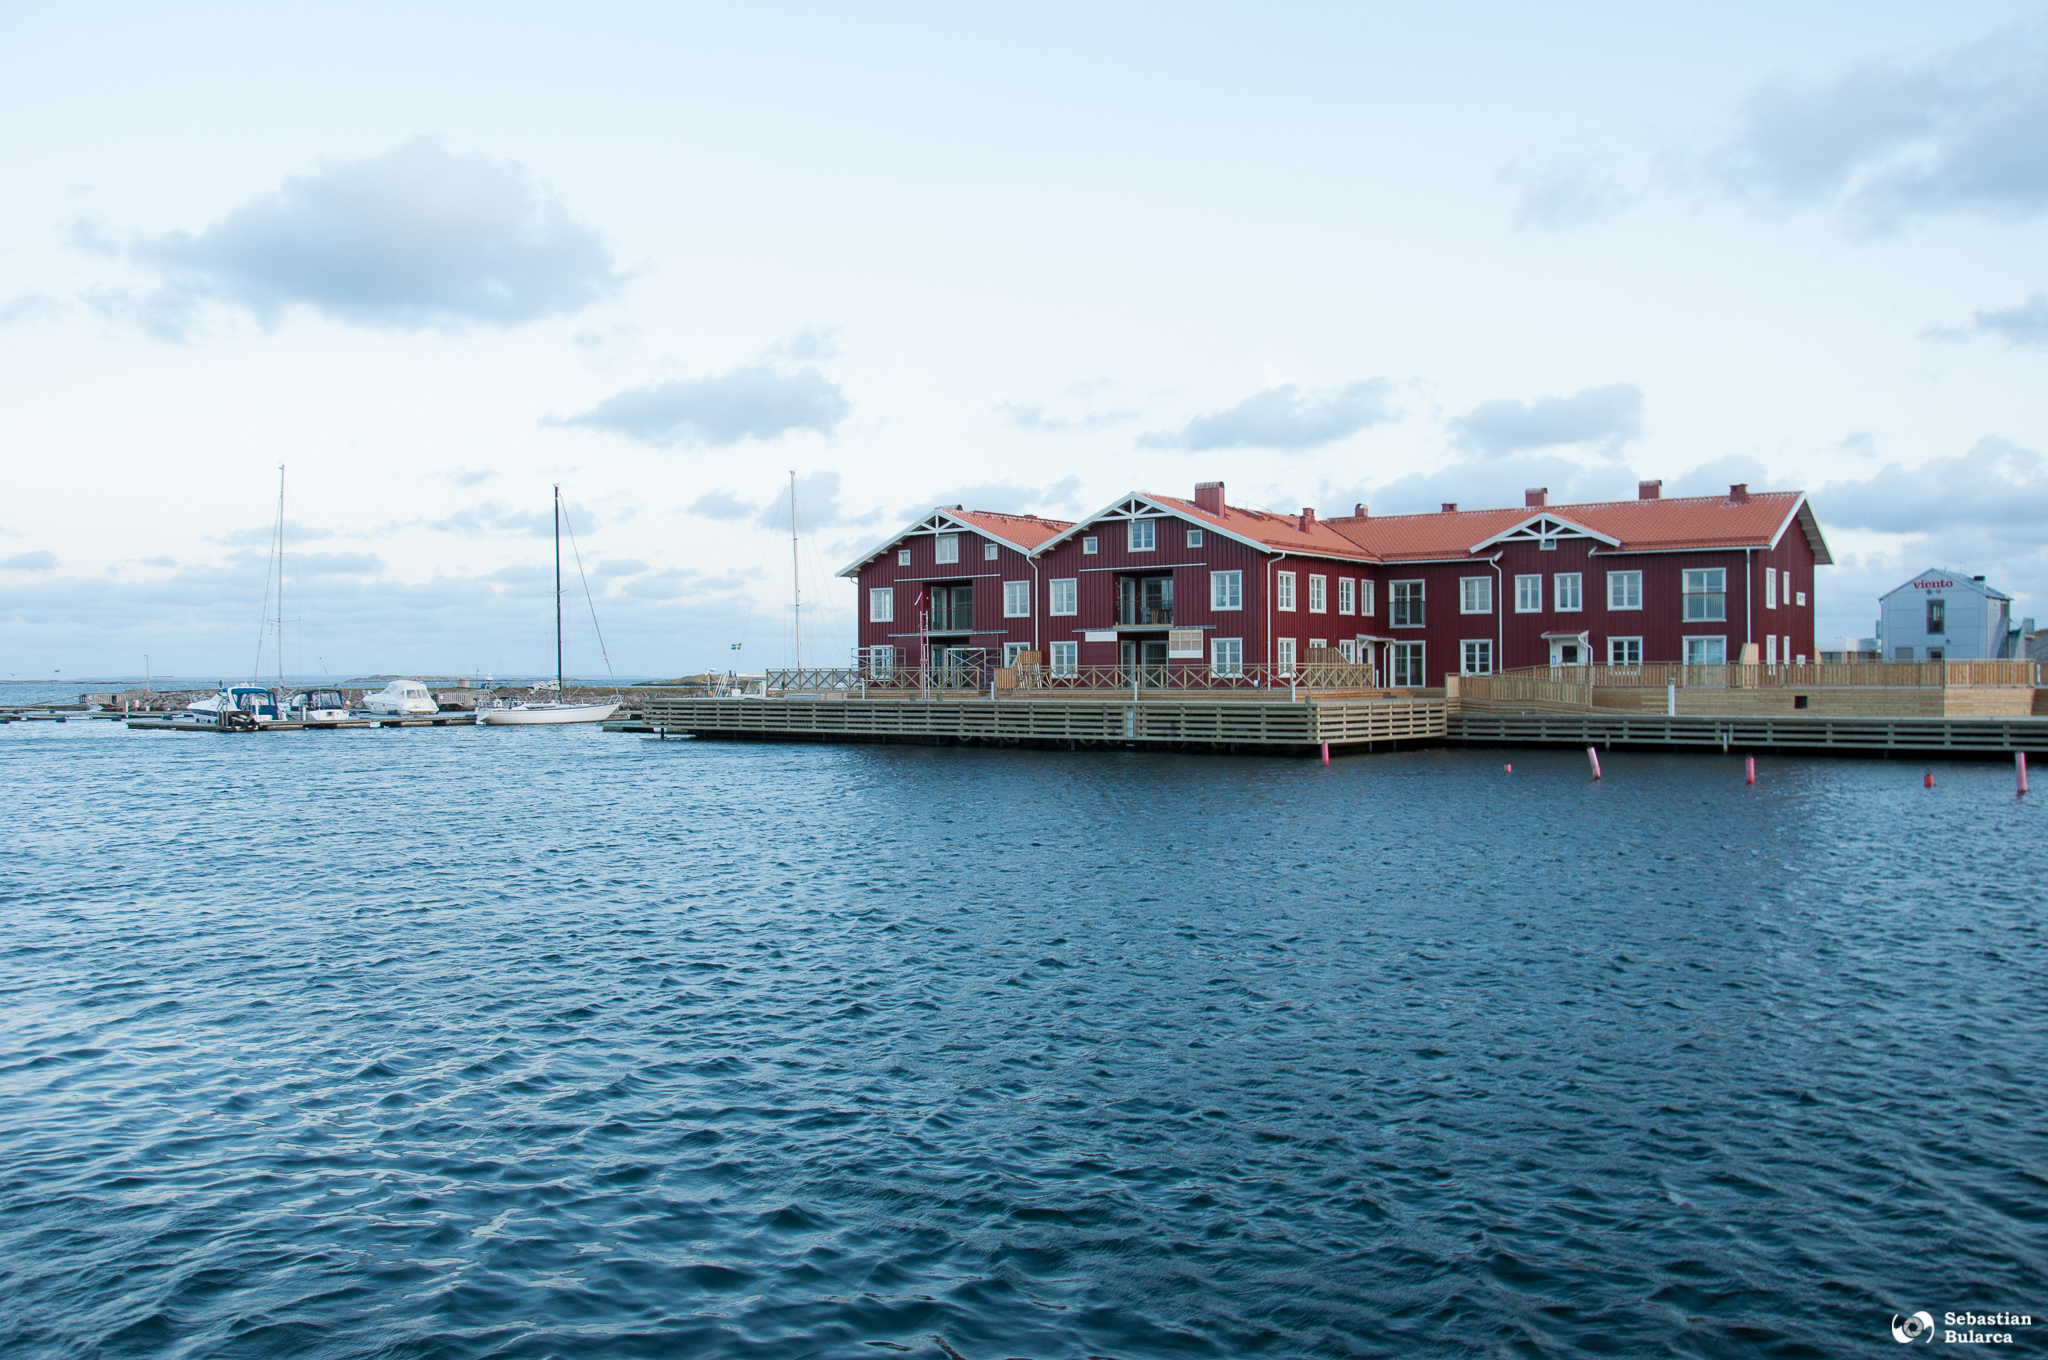
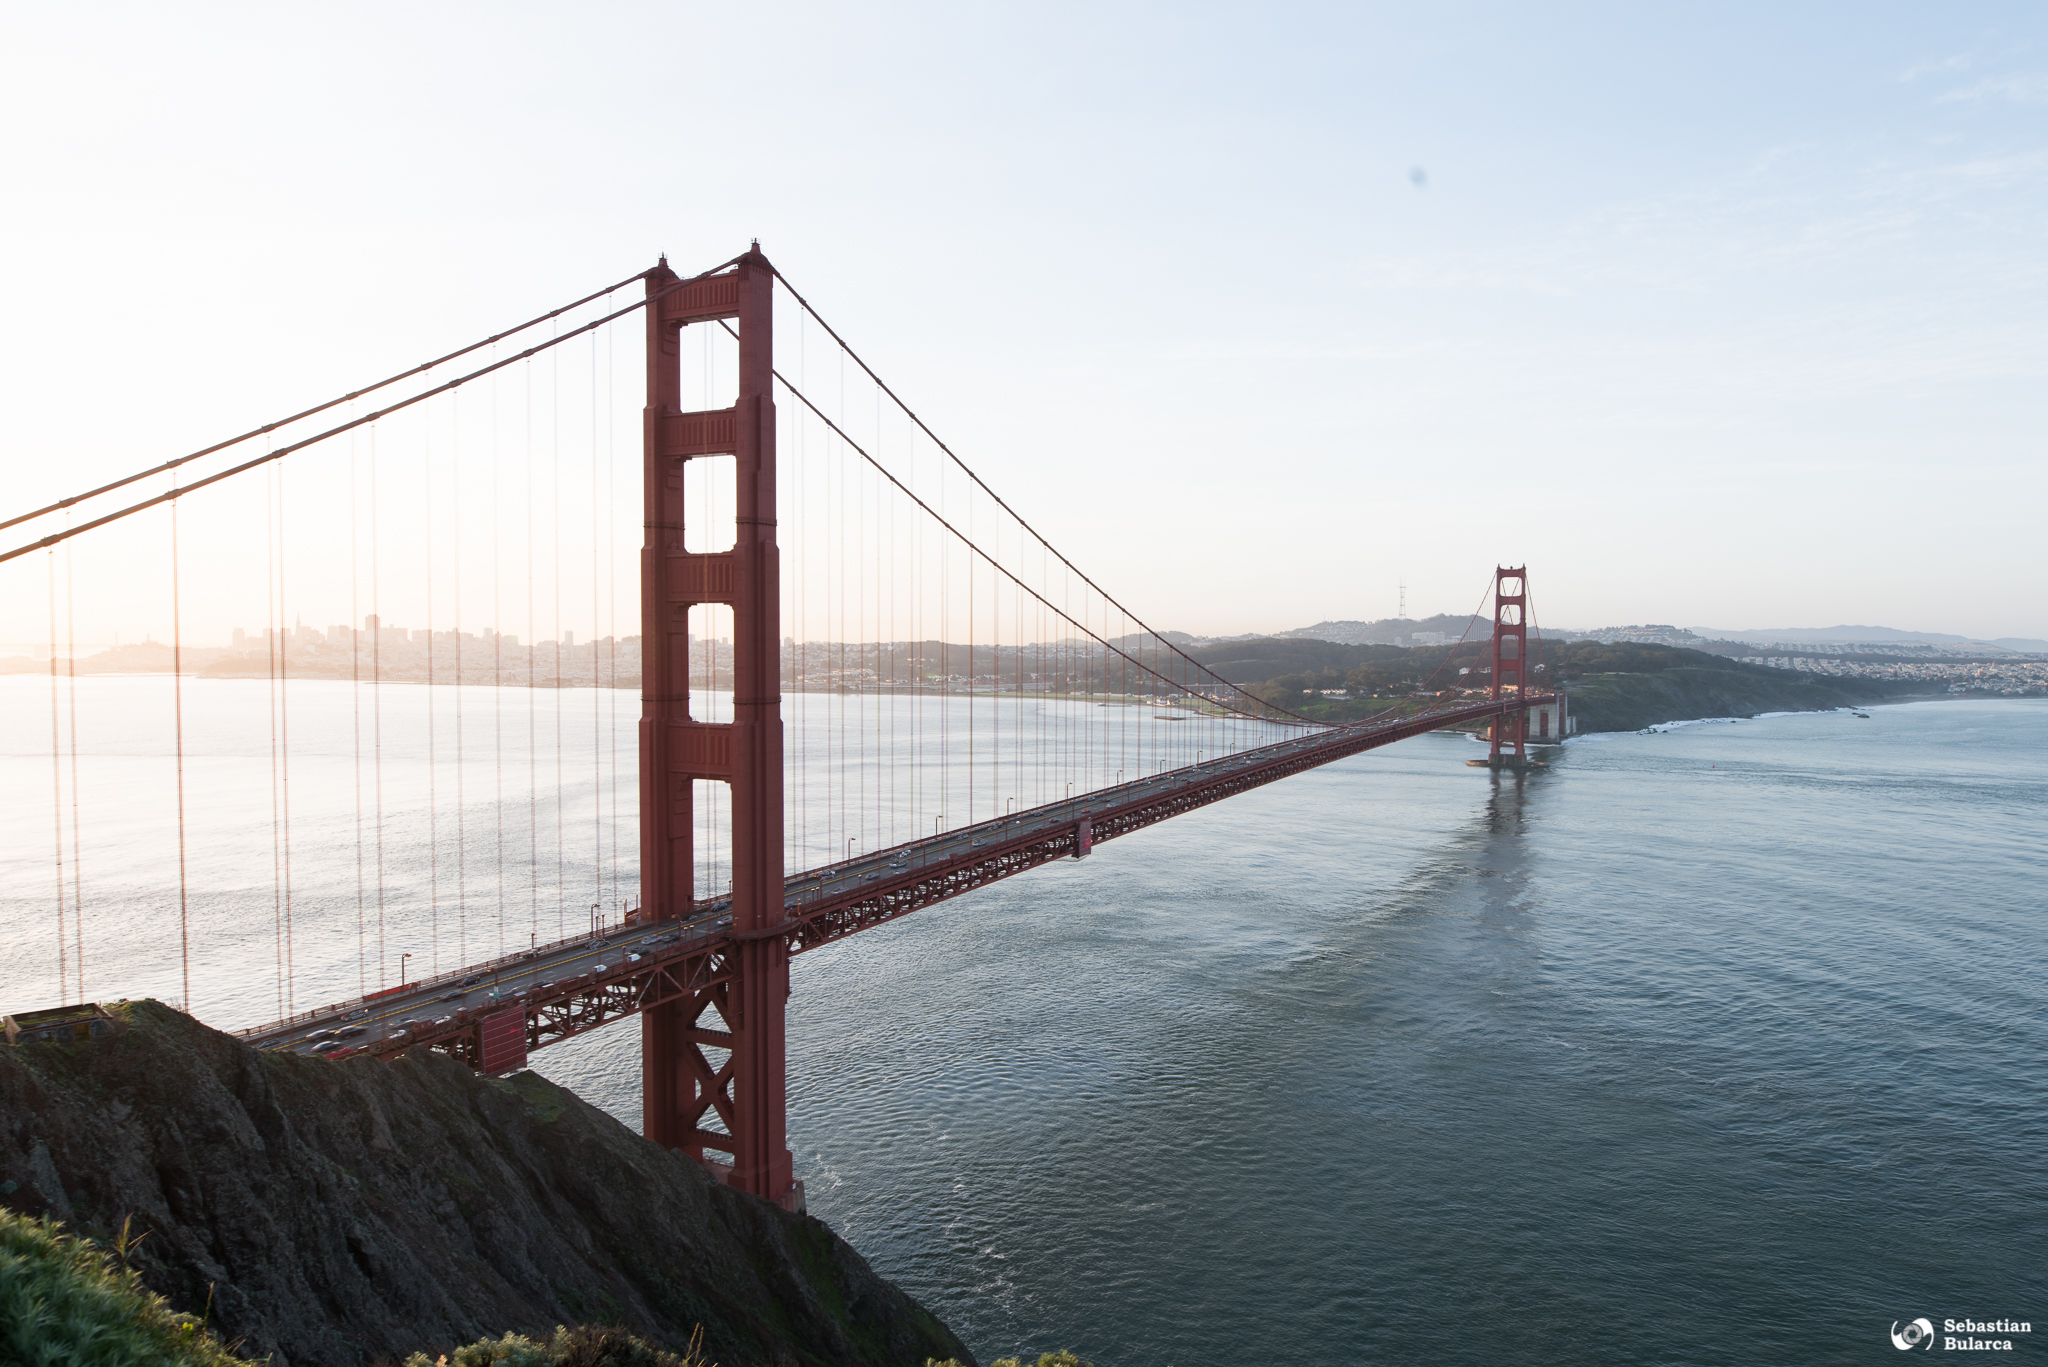
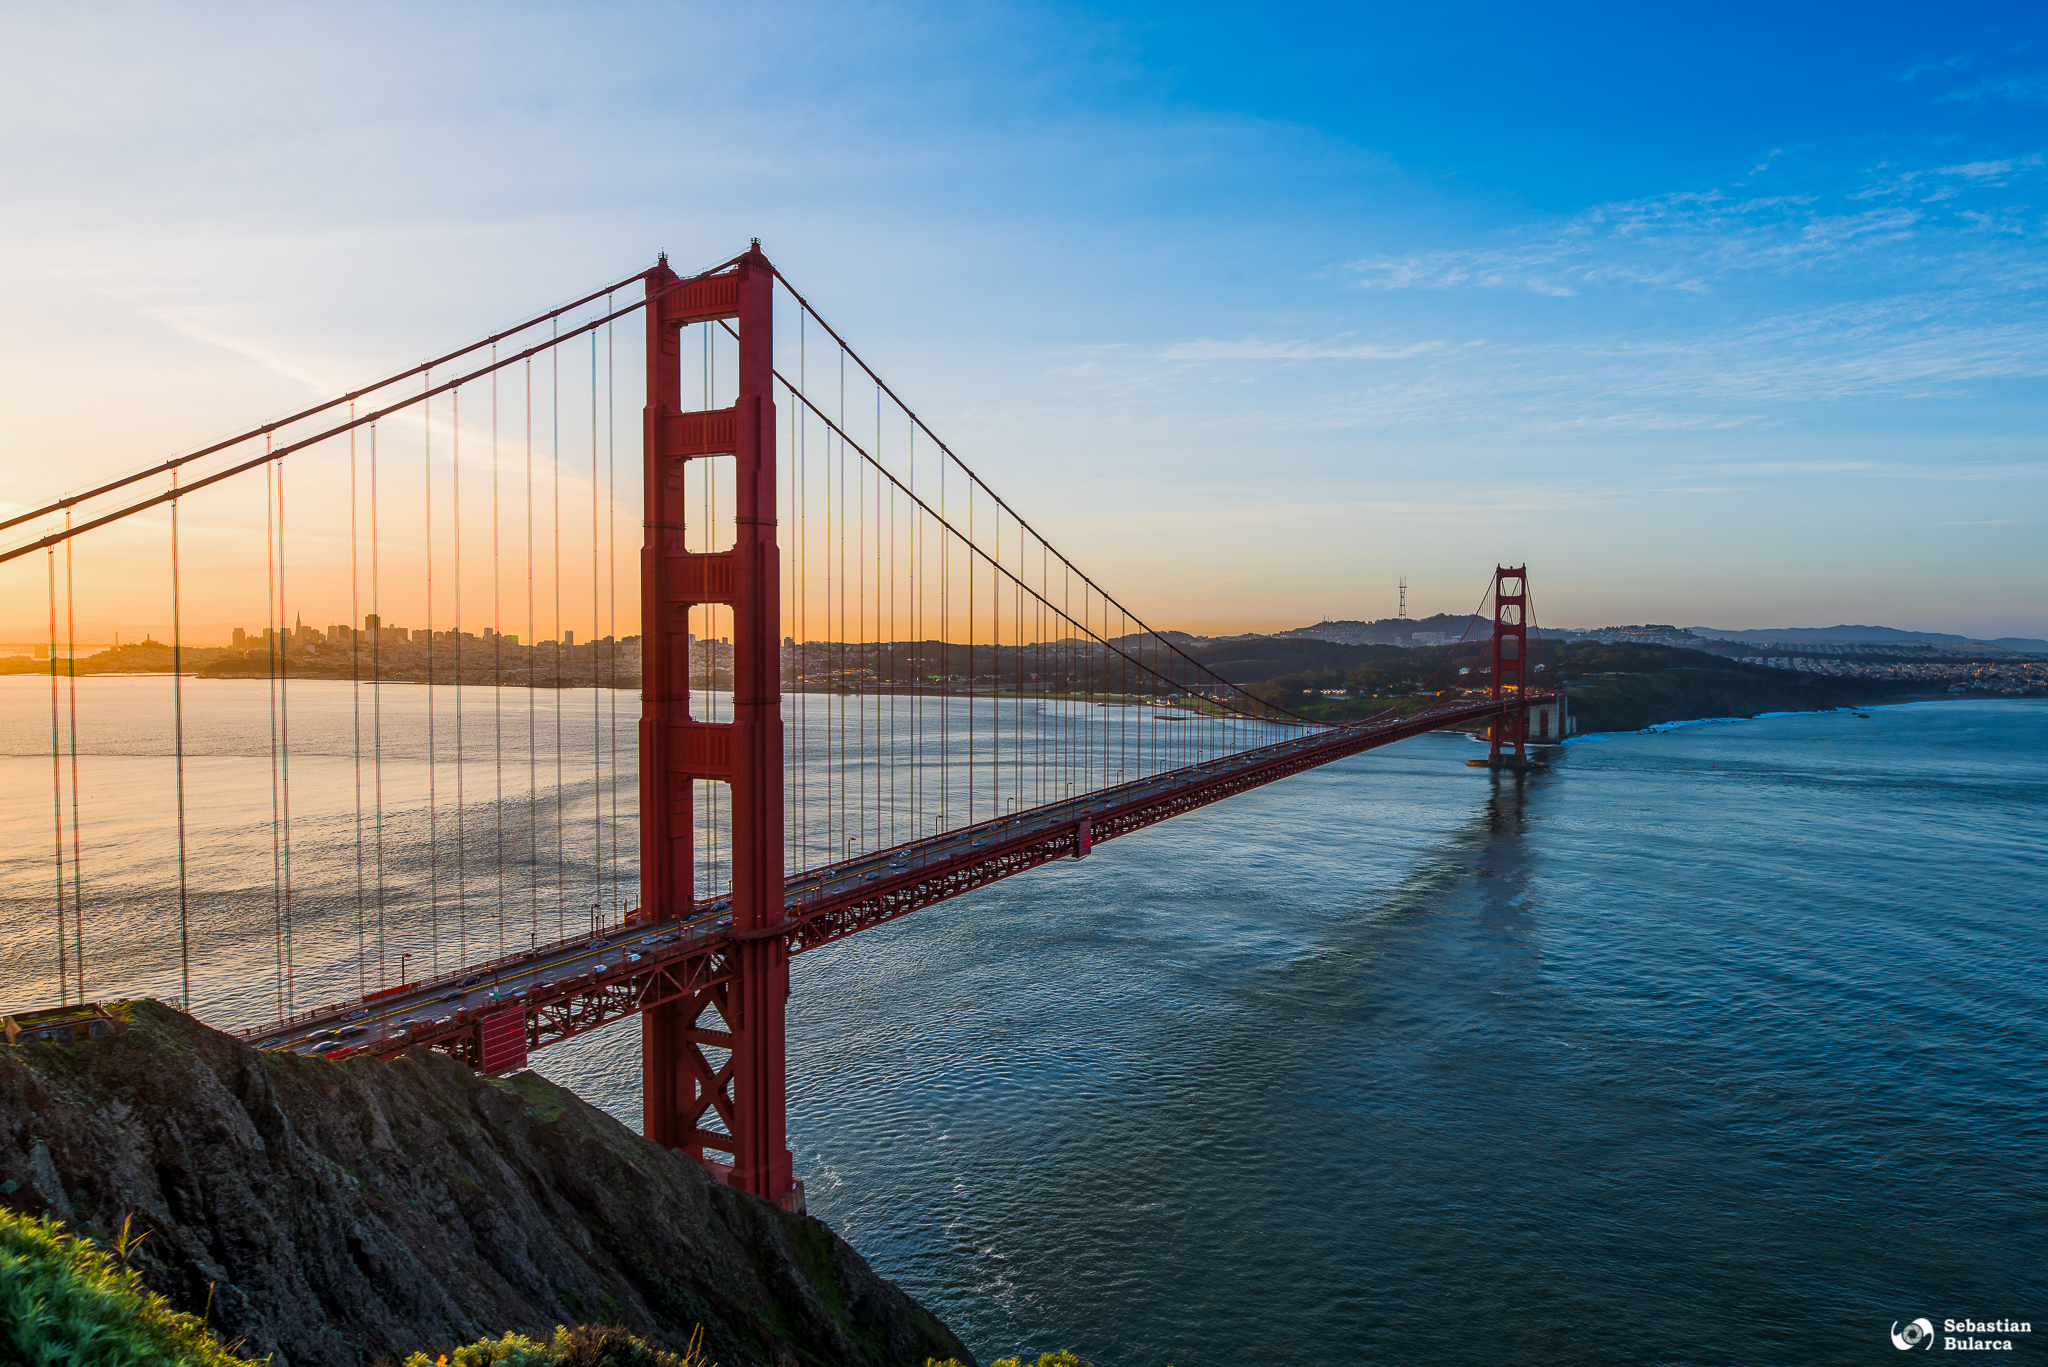
This recovery shows a bit how good the colour rendition and the dynamic range of the Nikon D90 sensor was and still is…
[twentytwenty]
[/twentytwenty]
This particular photo is done from stacking in HDR mode three different exposures and then processed in Photoshop.
[twentytwenty]
[/twentytwenty]
